Hi Loves, I’m so excited to be starting this series with this first DIY project.

So I was looking around for a foyer table for weeks and I found a few cute ones I liked but they were either way more than I wanted to pay or sold out. So I decided to diy one. My husband got the idea to use crates after we were also looking for an entertainment center which we also did a diy on (I’ll have a blog up with that one as well) and I said what about palettes and we started looking up some different ideas and he came across a foyer table made out of wooden crates. So instead of searching around for palettes we decided on the crates and headed off to Home Depot to begin our projects. Below I will list items needed and photos of our step by step.
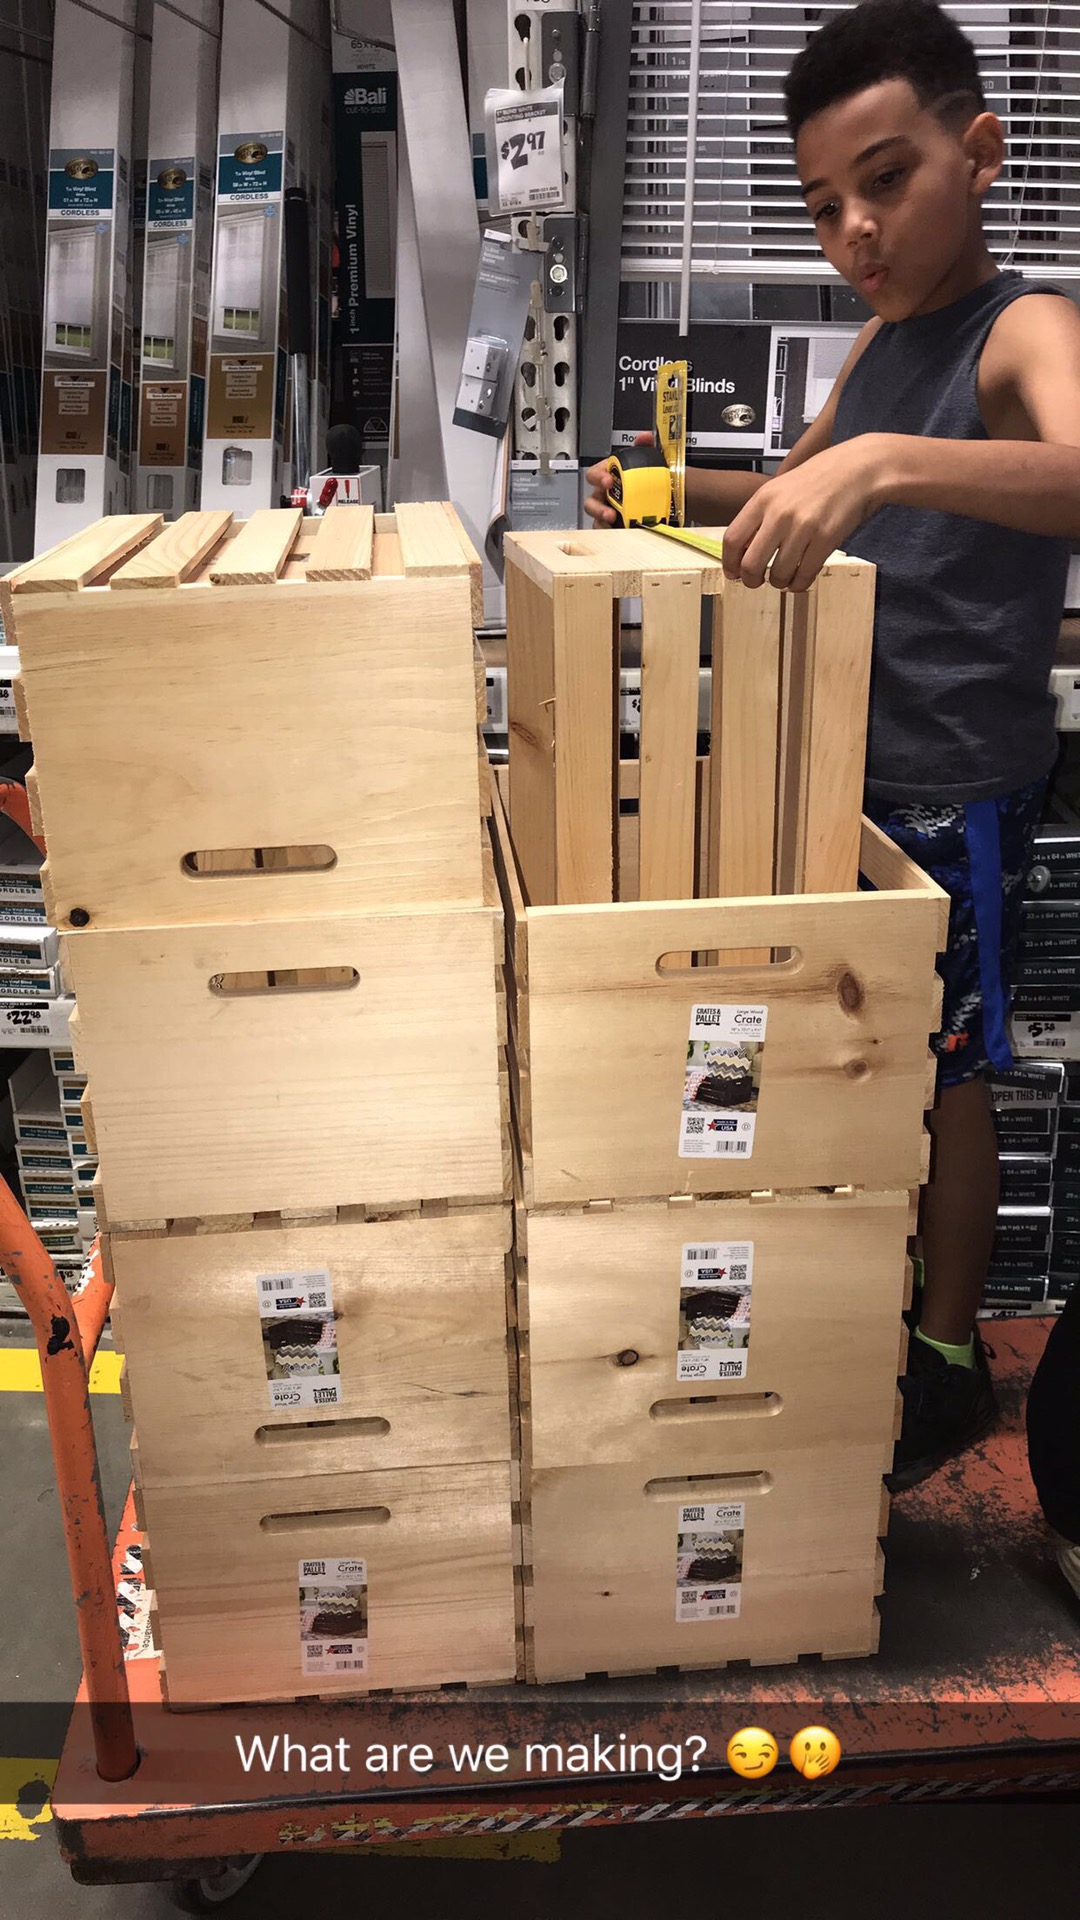
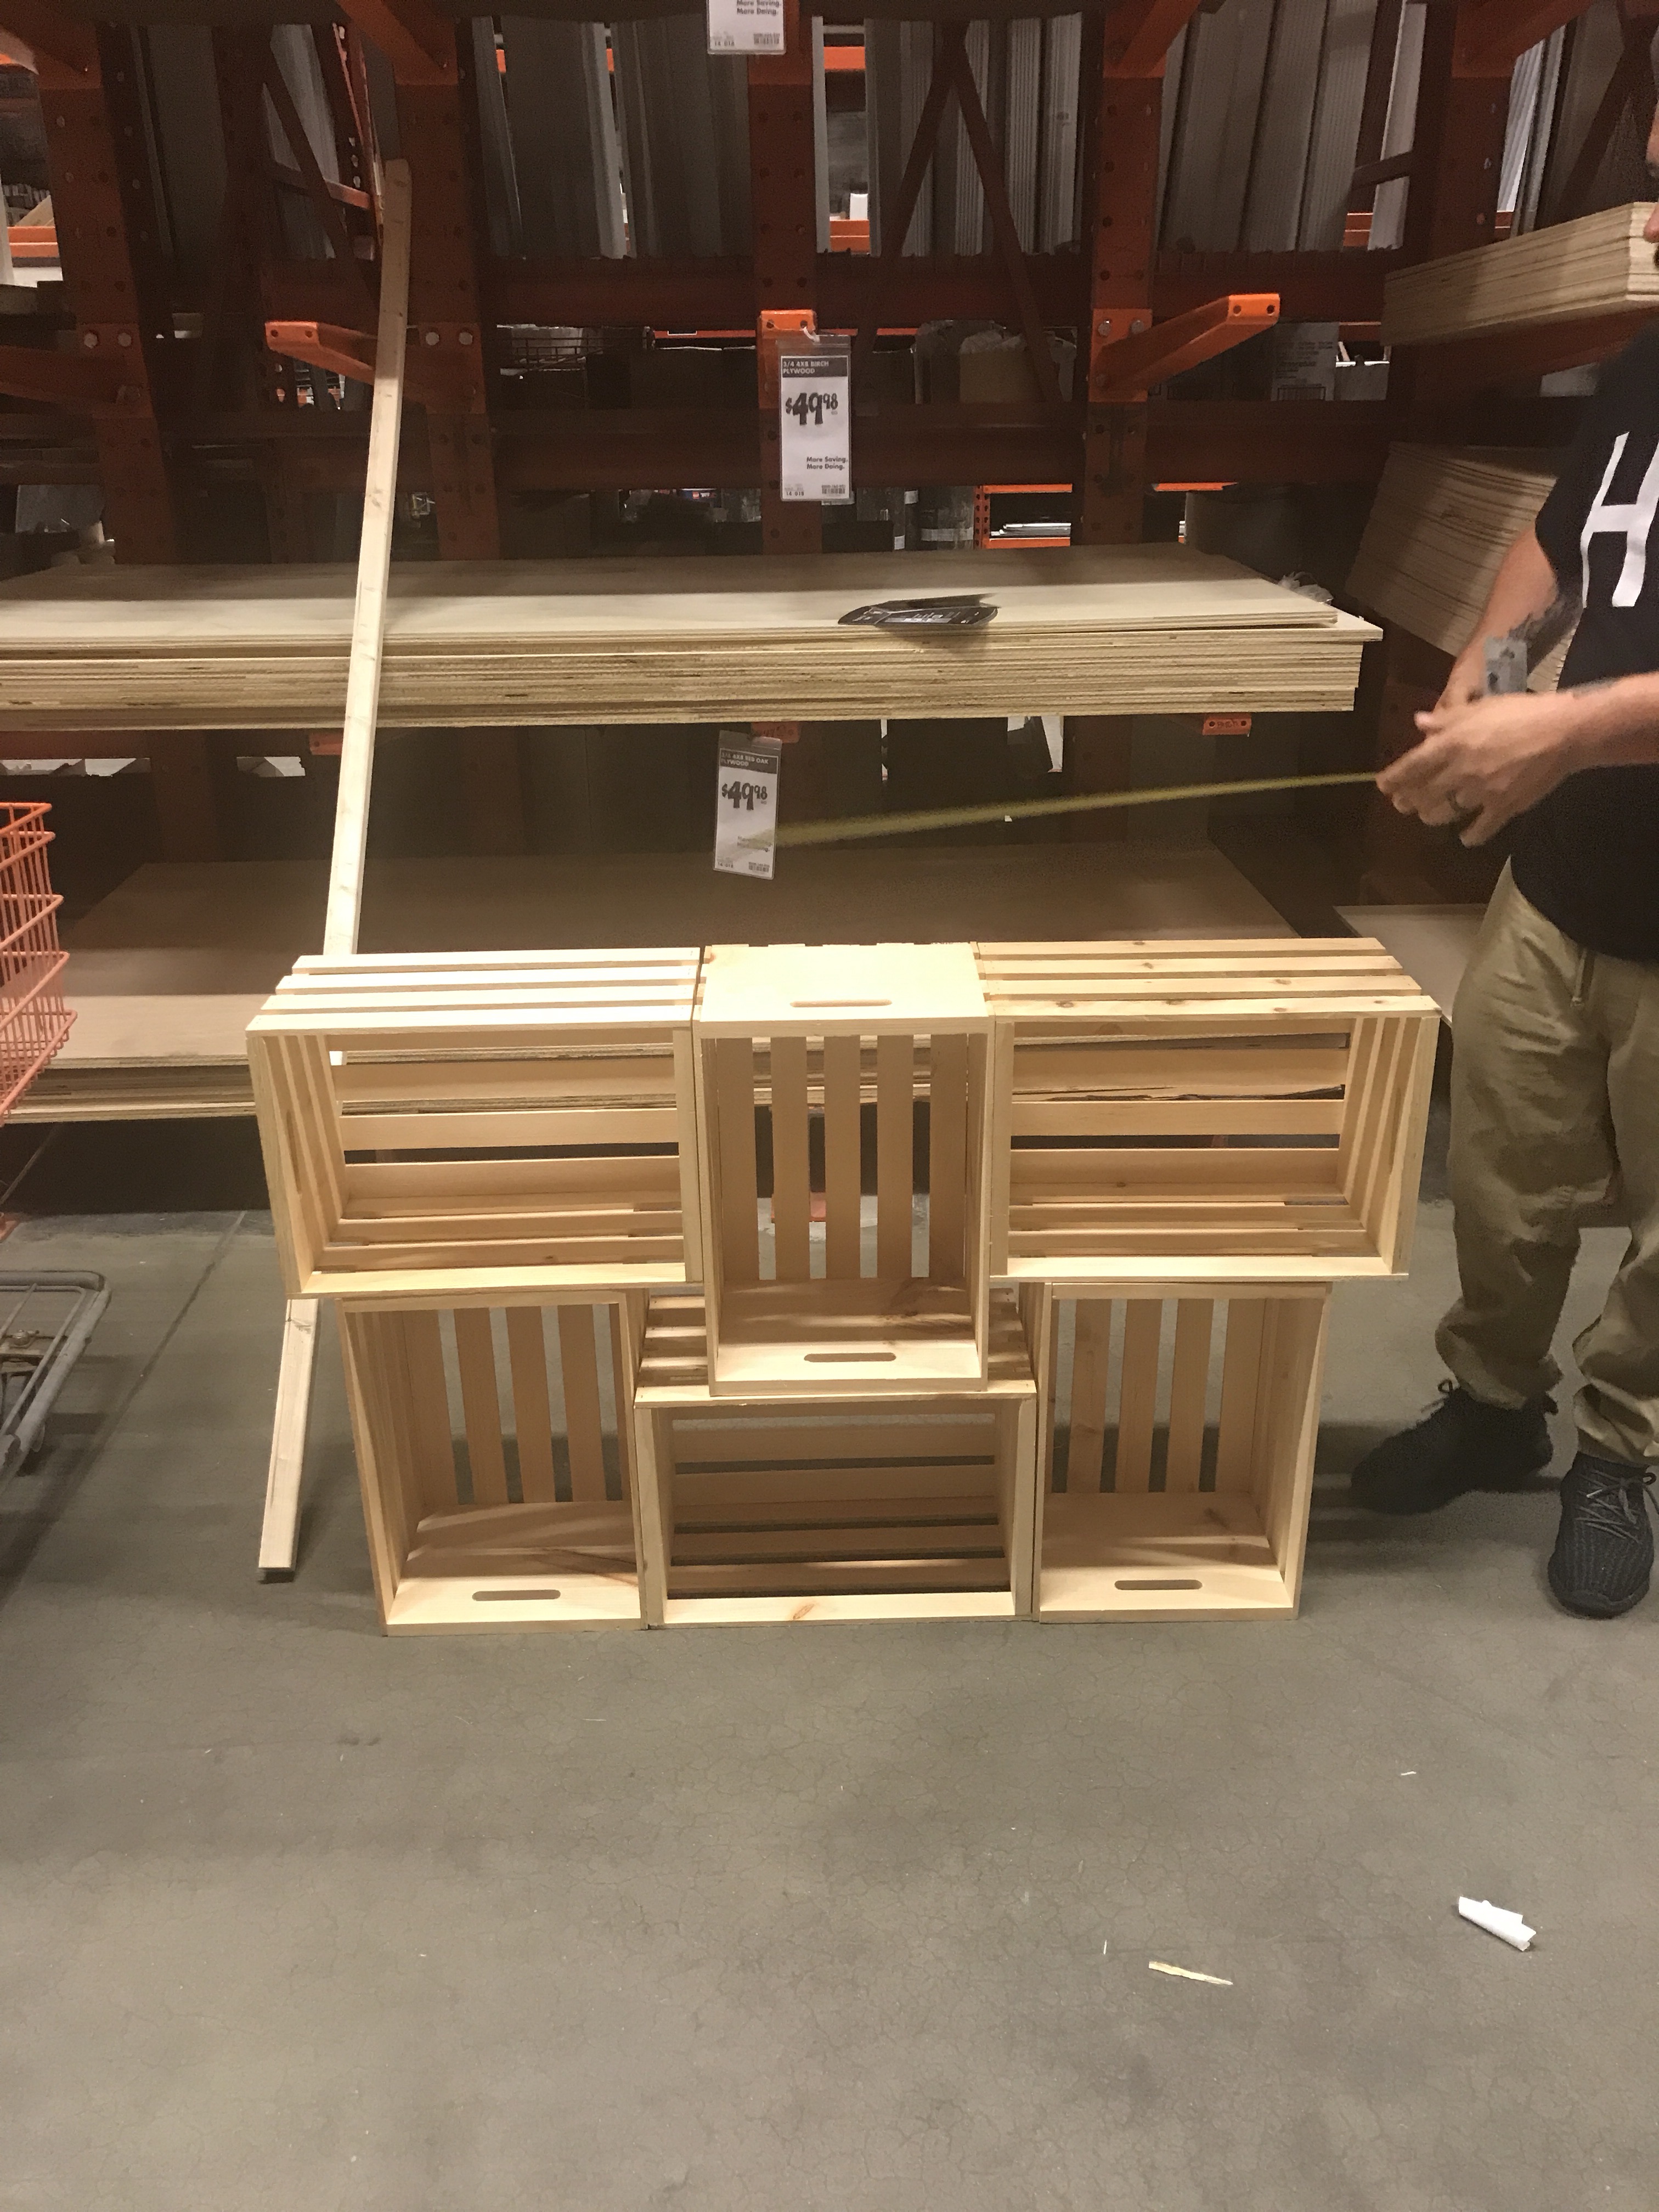

Items needed:
6 18”x12 1/2”x9 1/2” crates $11 each at Home Depot
1×12 board cut down to 56” for table top $15 at Home Depot
Legs (1 2×2 wooden stick .97 at Home Depot cut into 4 8” cuts)
5/8” brad staples $4.24 at Walmart
Staple gun (already had)
Wood Stain (I choose Kona semi-gloss a dark brown black)
Wood Glue (already had)
2” clamp (already had)
Measuring tape (already had)
Sprayer $10 at Home Depot
Stain rags $5
To begin:
Put the crates together to see how you want them organized and put together. It’s good to take a picture if you aren’t following a guide for your design so you don’t forget exactly how you put it together. (Like we did the first time, thank goodness nothing was glued yet, lolol.)
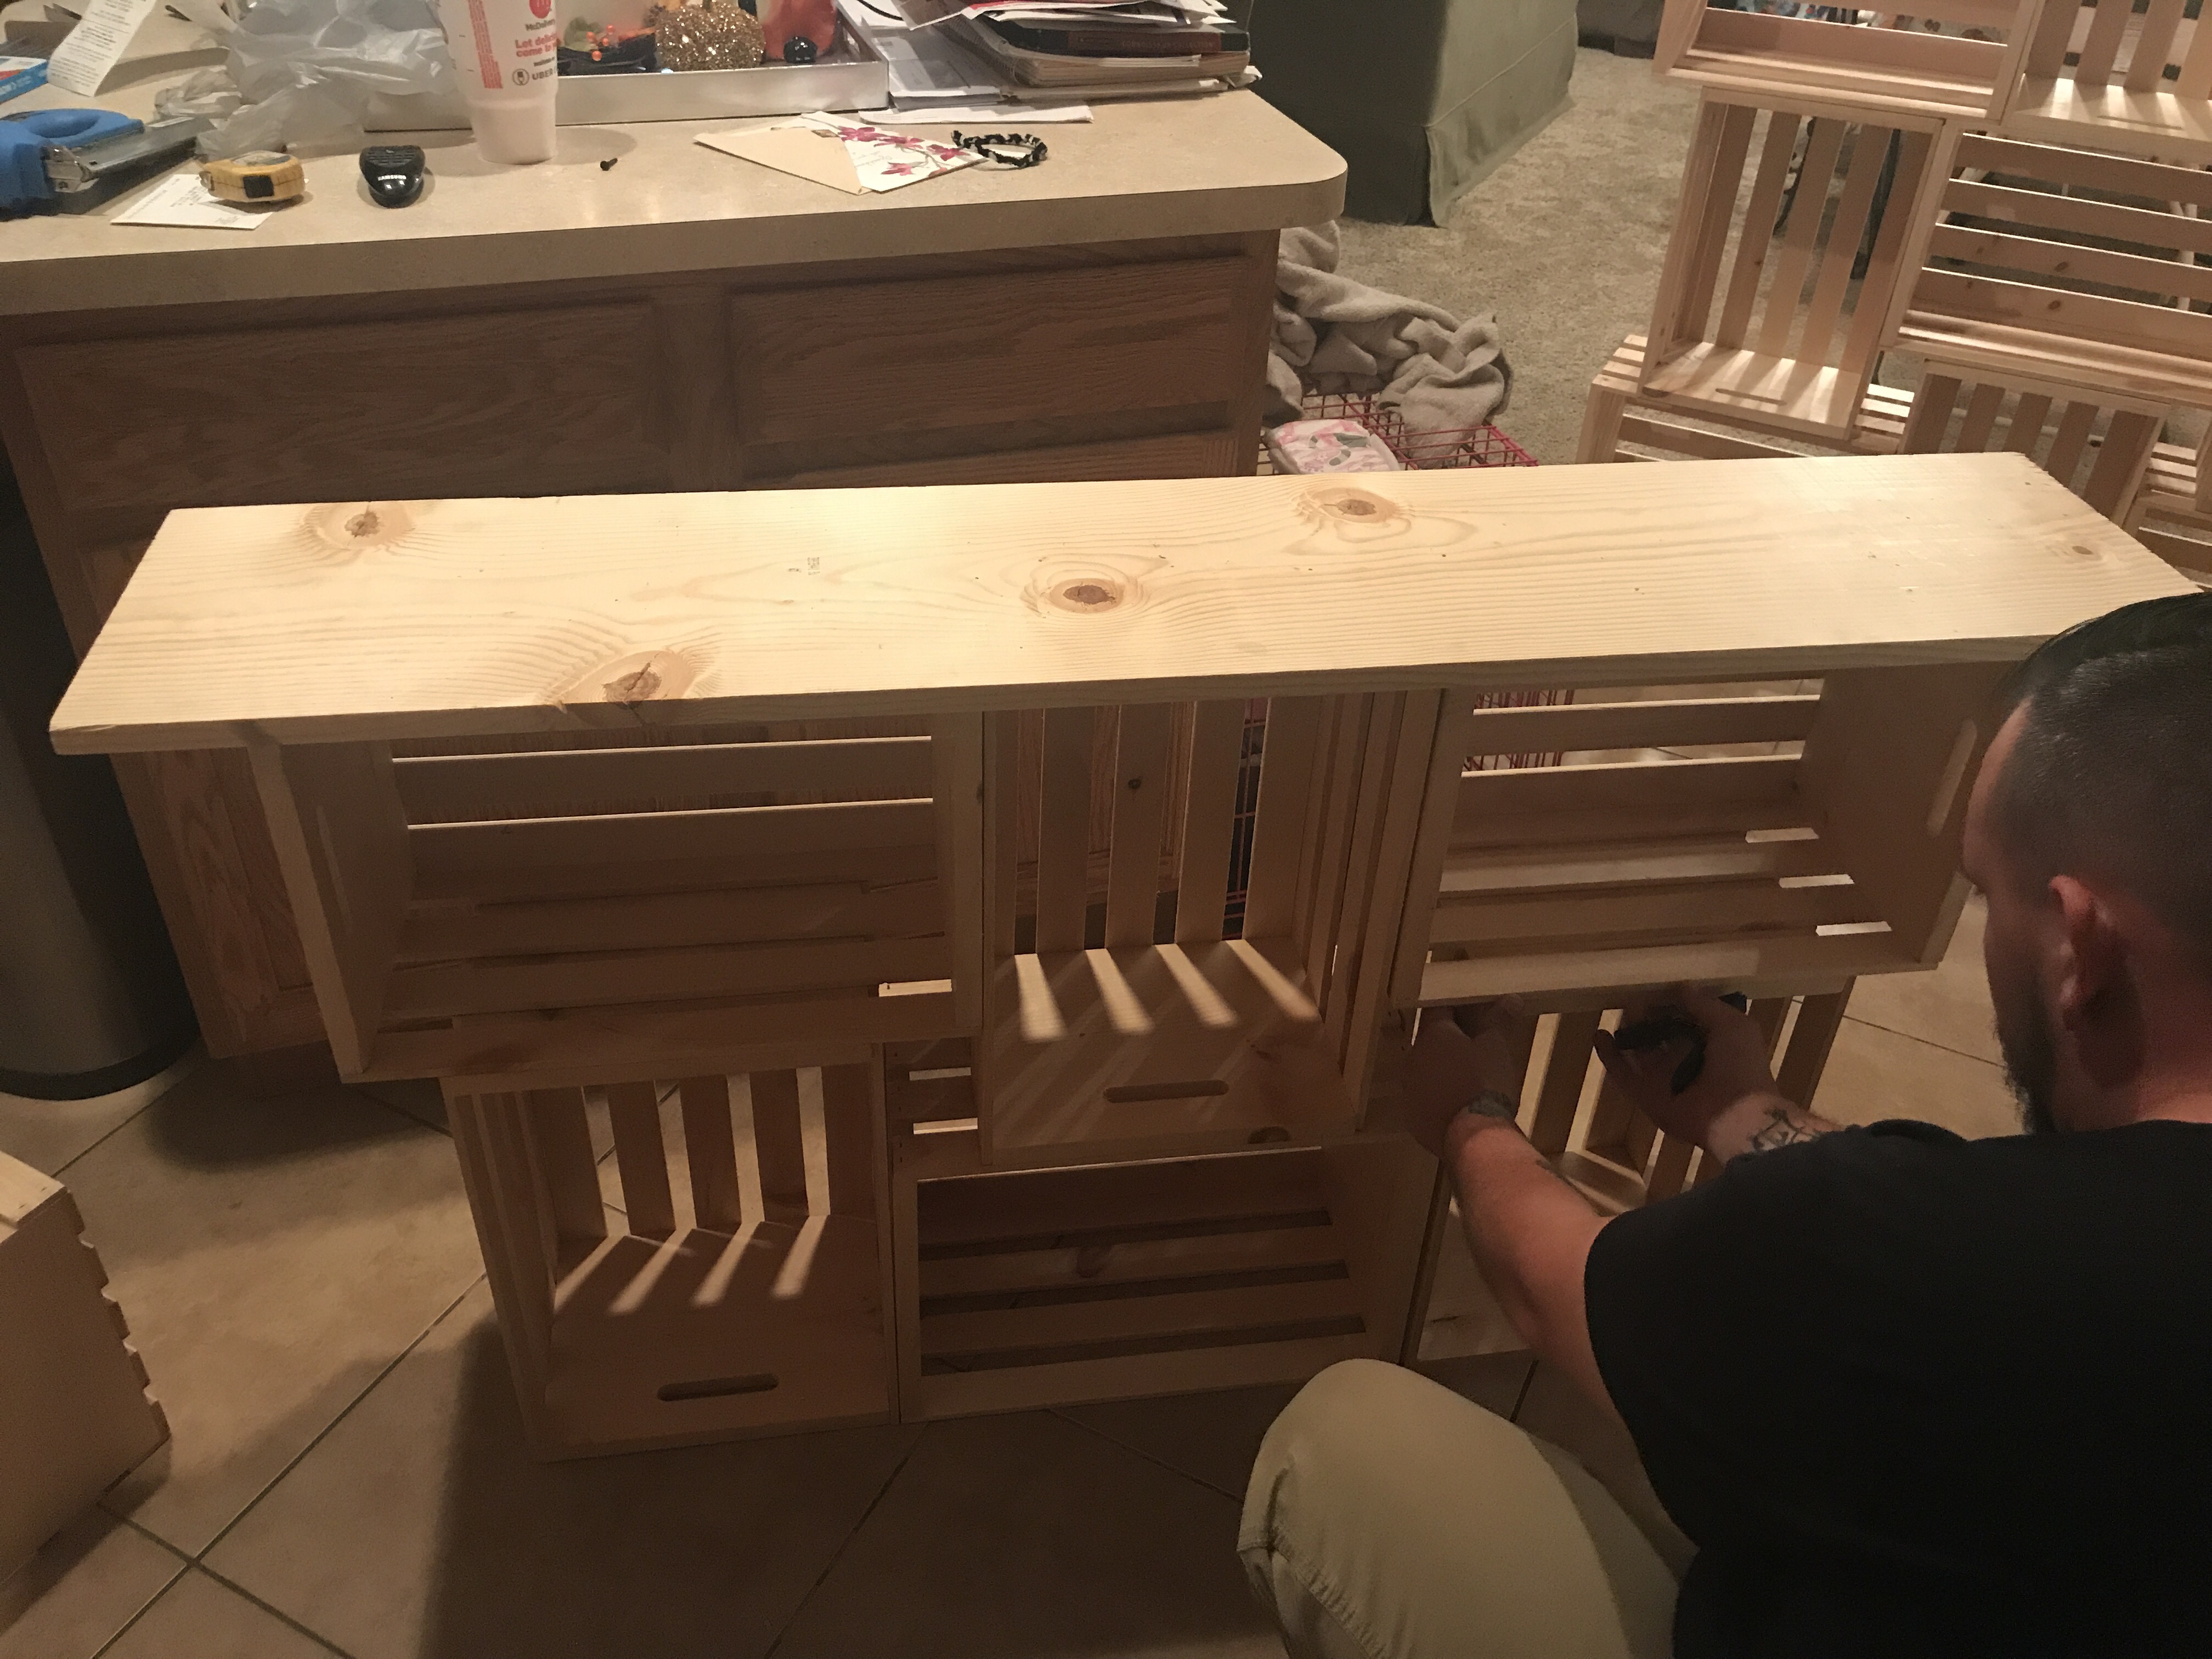

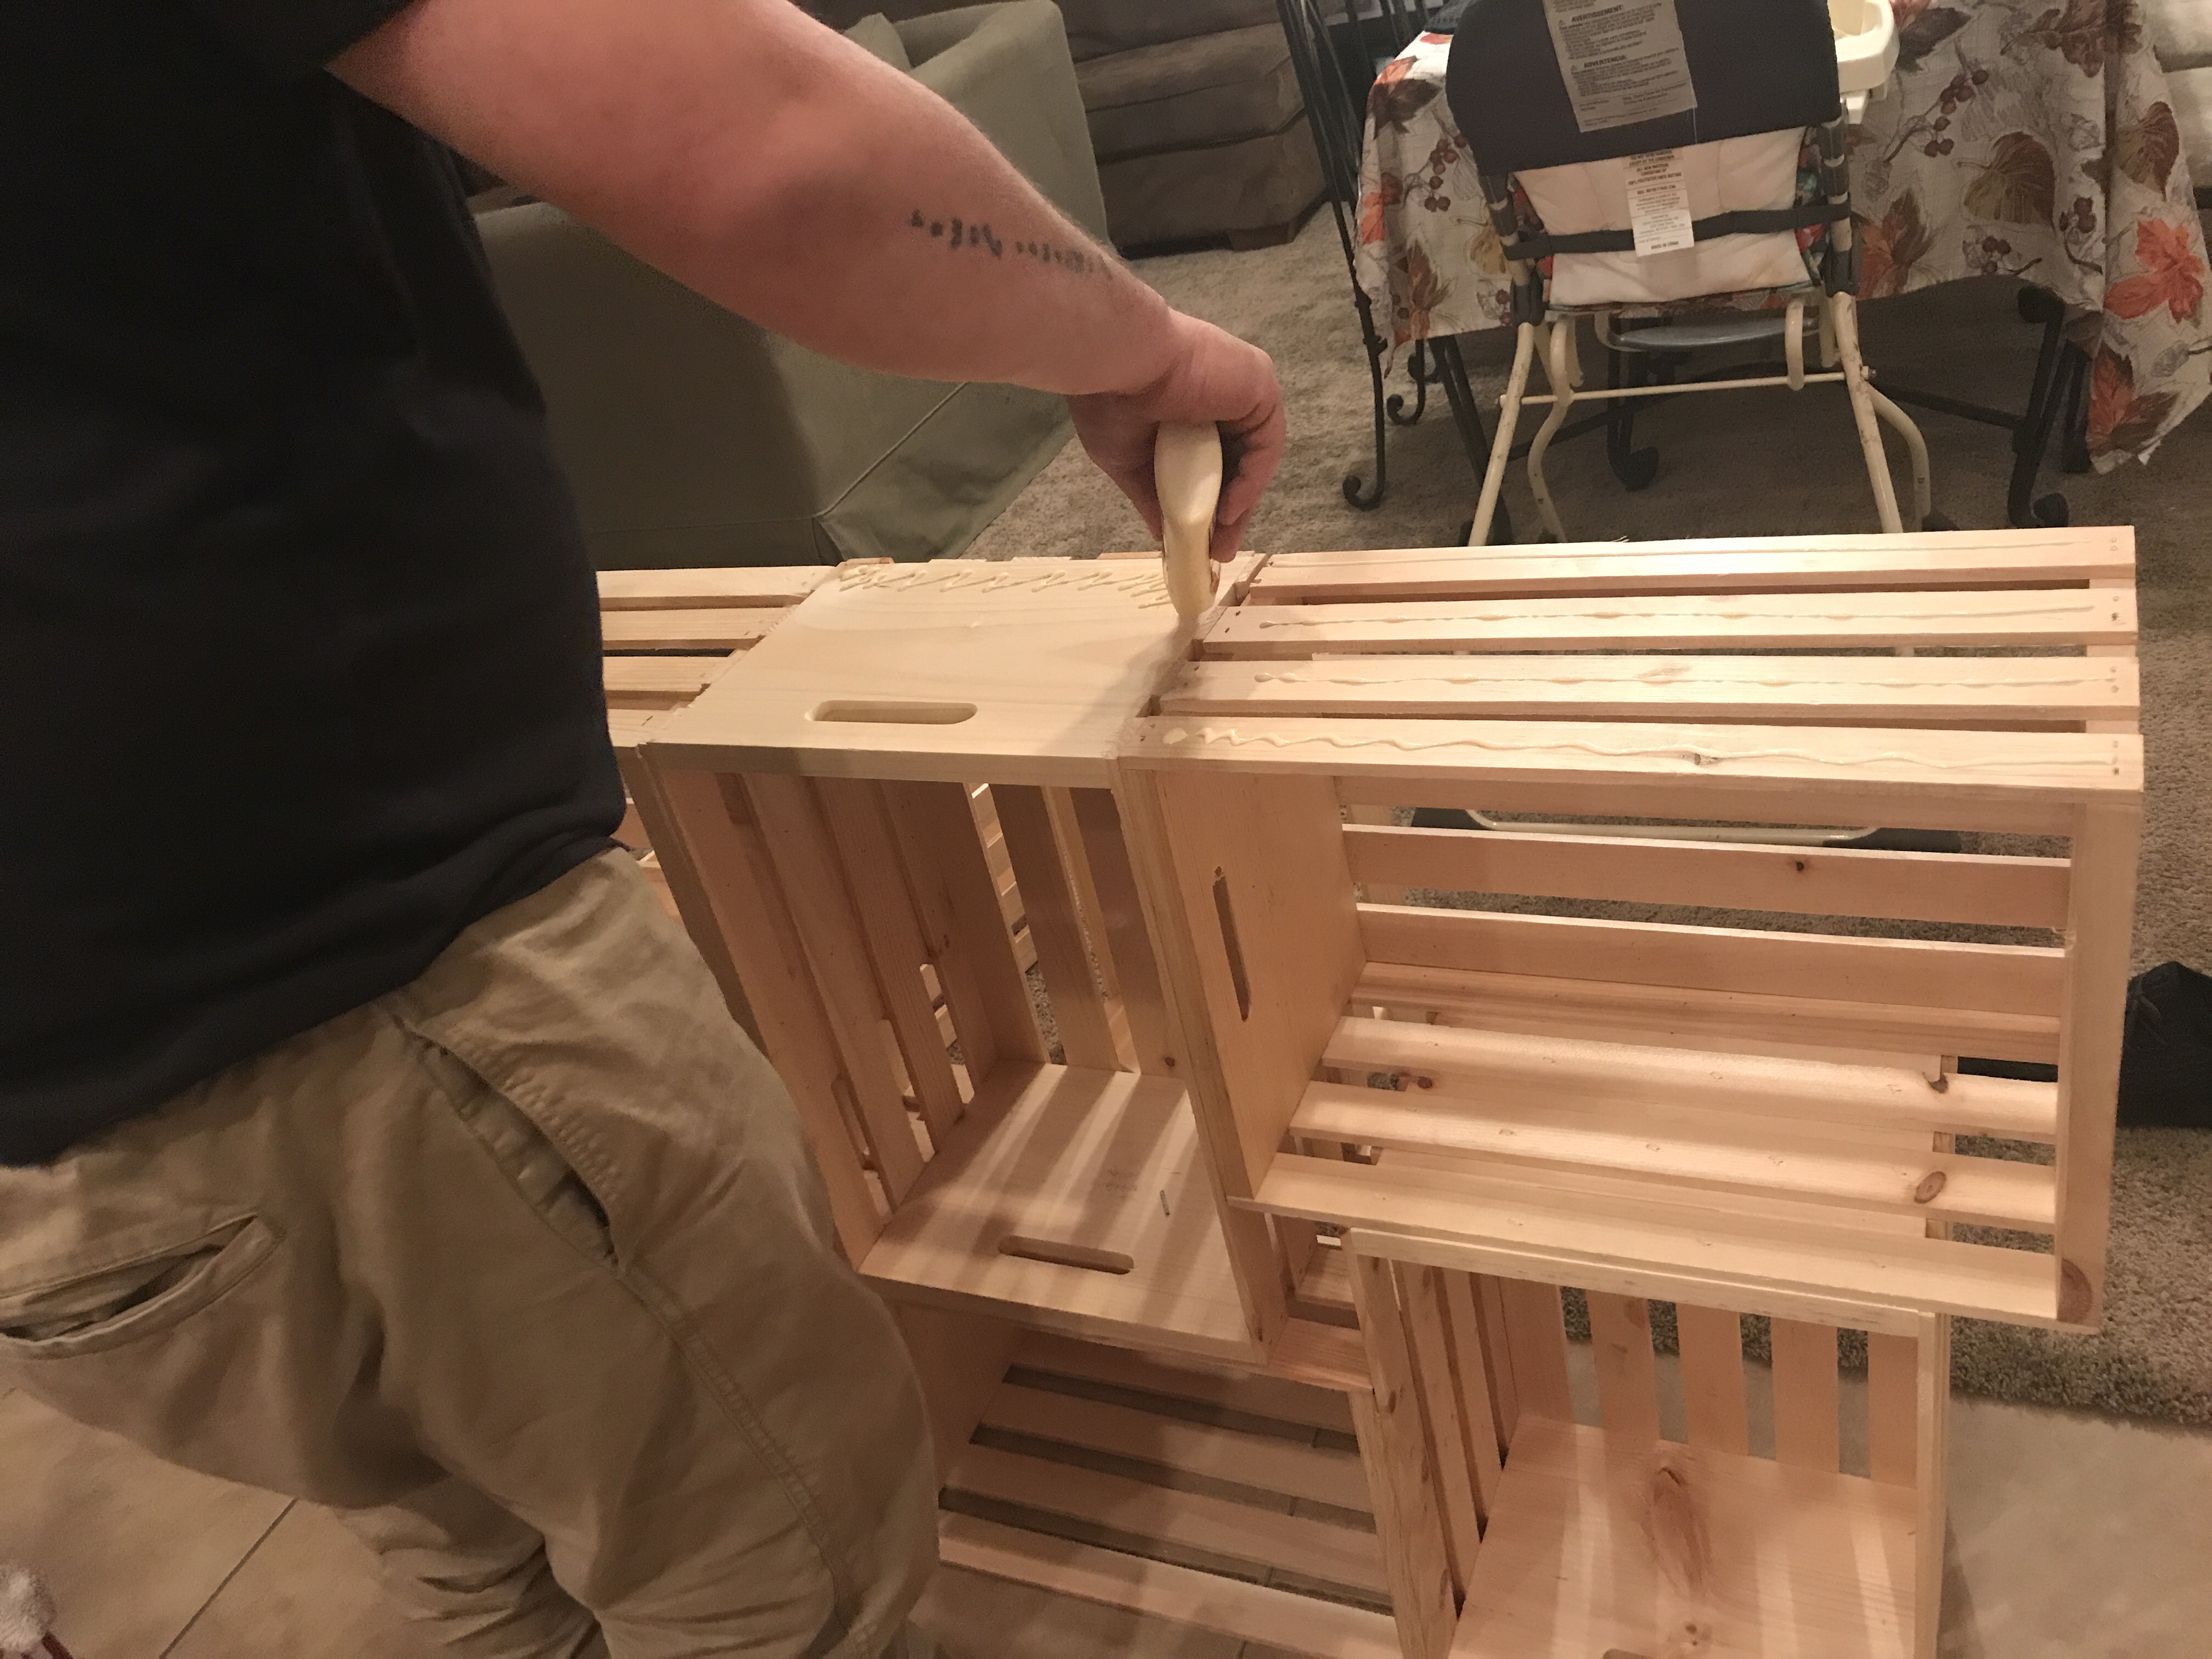
Once your mock up is done, start from the bottom and work your way to the top gluing all the sides together. Use the clamp to hold a section in place once you’ve glued it while you staple it down. Continue until all parts are glued and stapled together. Then glue and staple on the table top. Make sure both sides are equal in their overlap on the ends and the back of the board is flush with the back of the crates. There will be a bit of hang over in the front as well for a ledge.


Once the glue has dried or mostly dried (about 30 mins) then you can carefully move it outside or in the garage to start staining. There are a few different ways you can lay the stain. We choose both a brush and spray method. The sprayer mainly helped cover a lot of the table and then we brushed it out everywhere on the wood and then wiped it down with the rags. We let it dry over night even though the stain usually dries in about an hour or so depending on how many coats you apply.

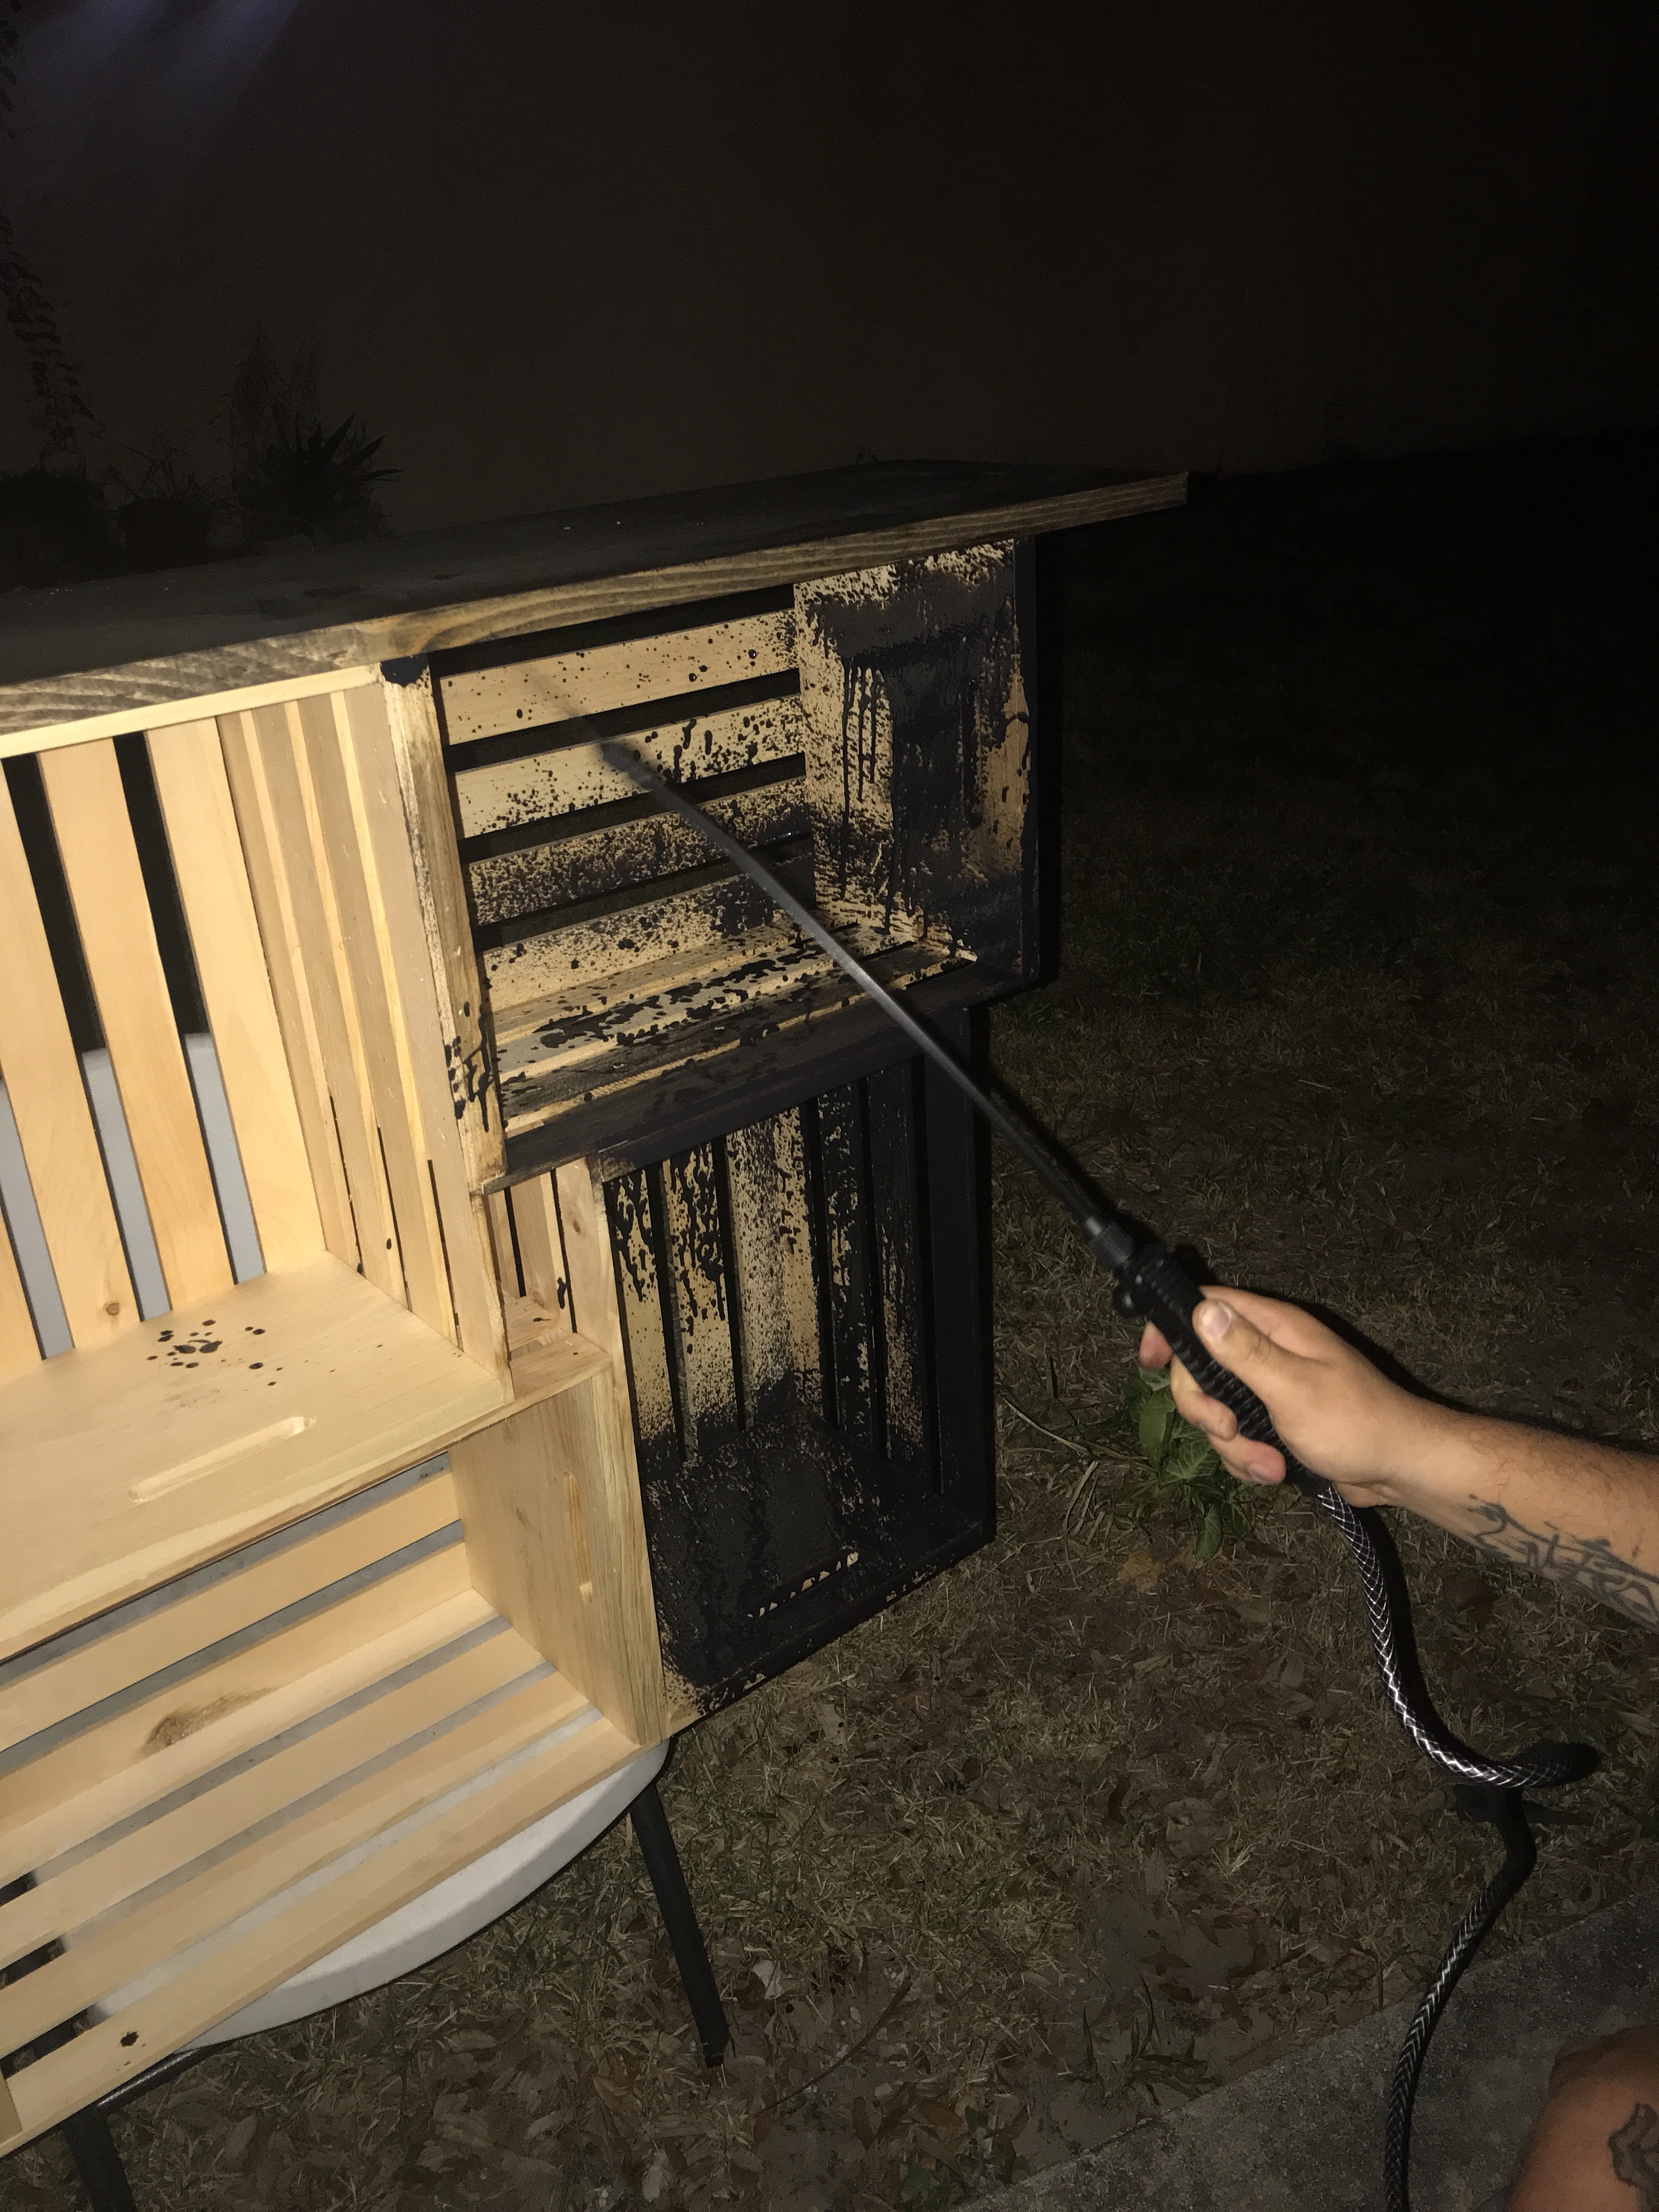

Once stain has set and dried you can now apply your legs. Make sure all the legs are level and not crooked so you get a more even balance and no rocking. We glued the legs on and then used a drill and screws to screw in the legs on and secure them. Let glue dry and then you’re done. You can officially place the table where you want it and decorate as you wish.
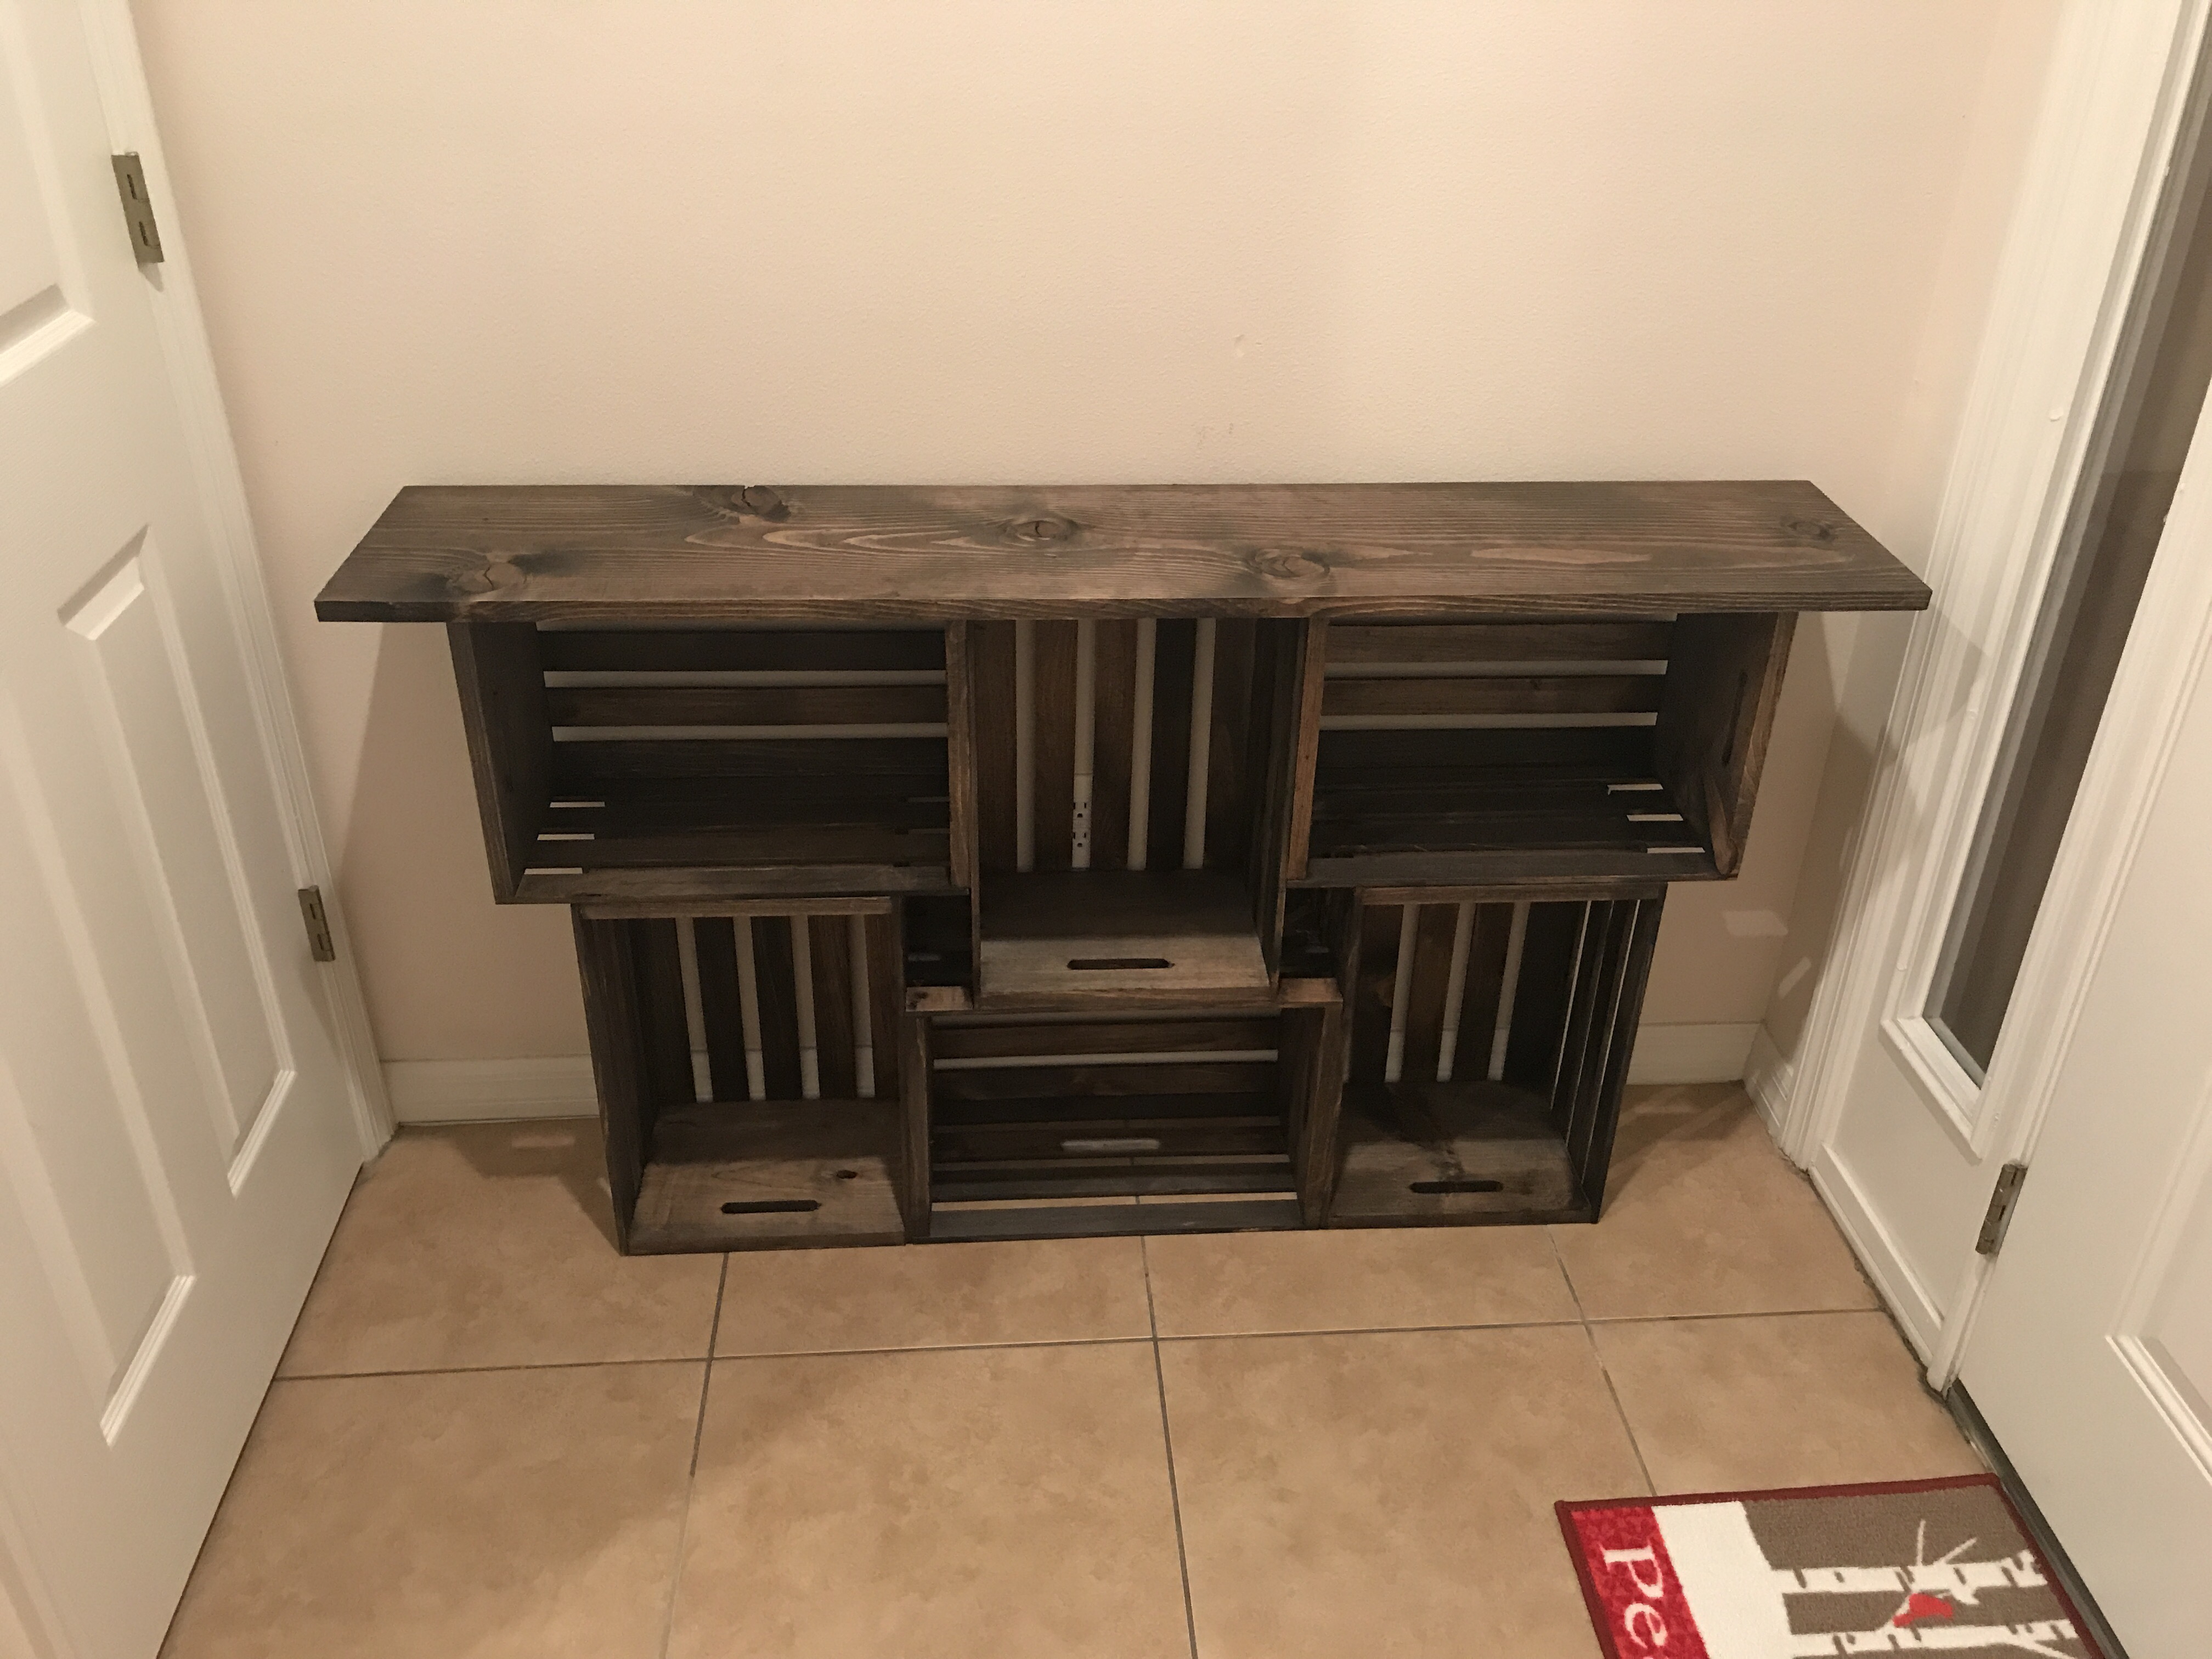
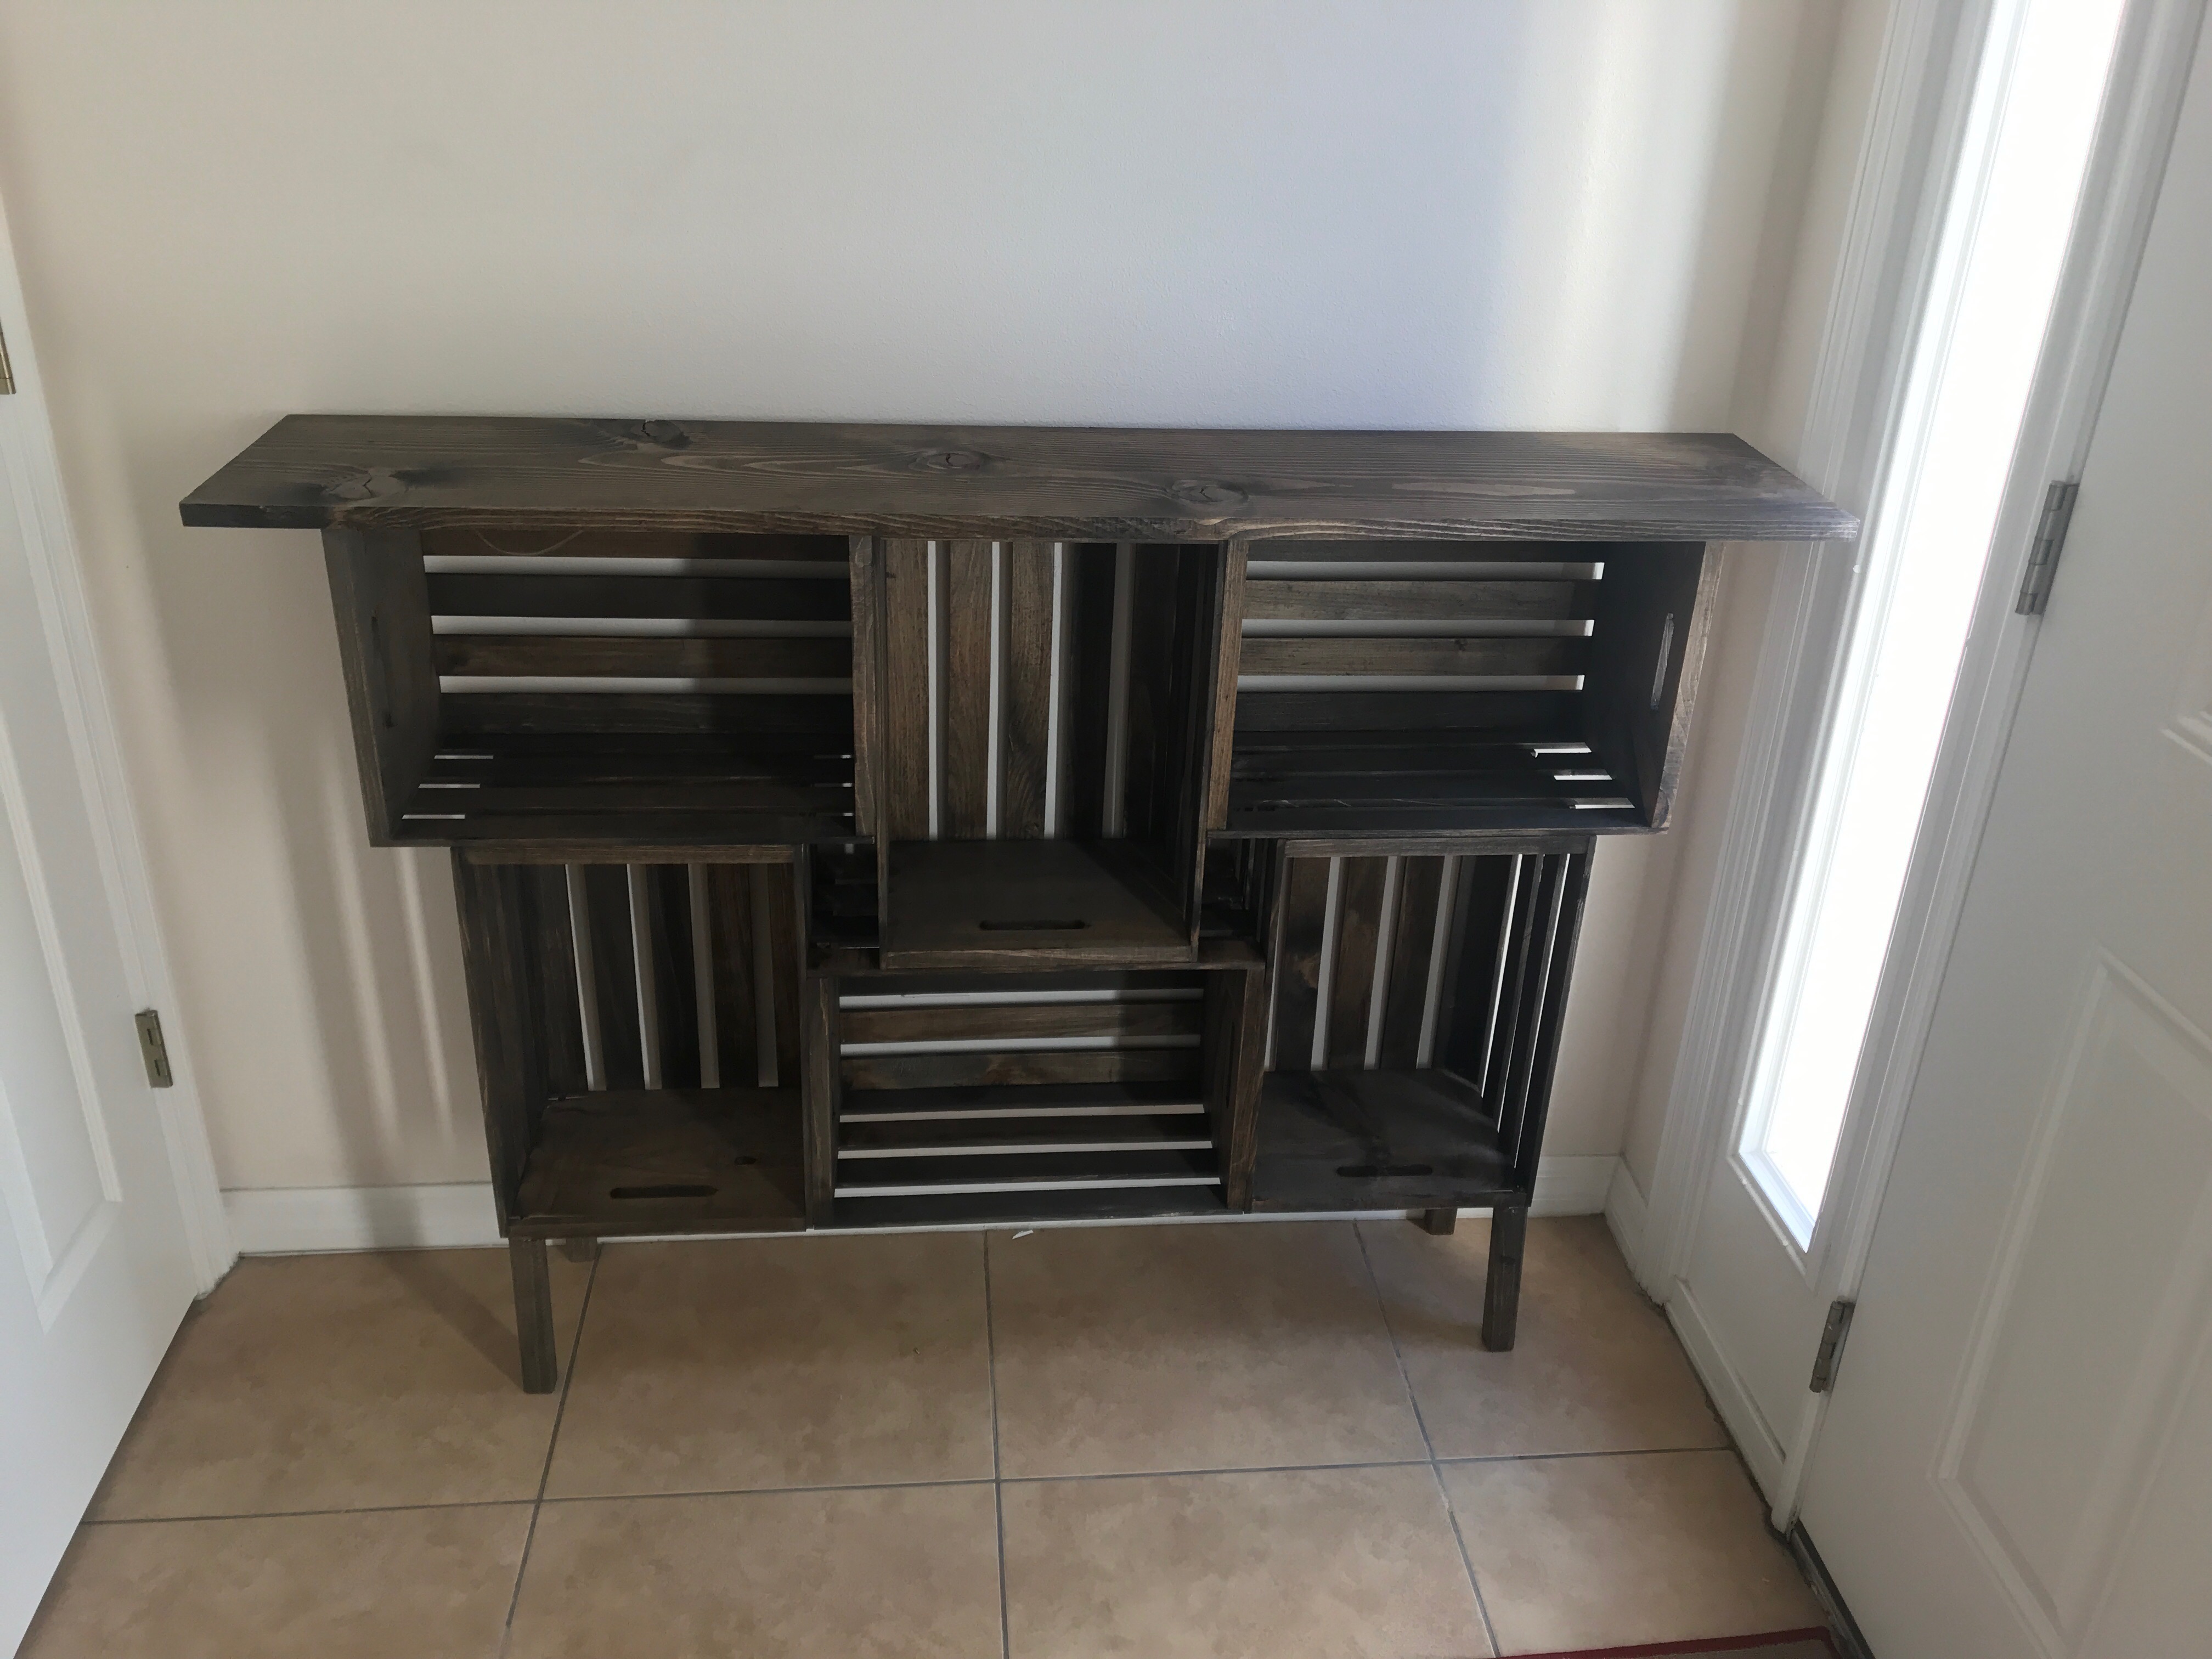
Completed foyer measurements:
39 1/8″ H 56 1/8″ W 11 3/8″ D

I hope you enjoyed this DIY. It was actually pretty quick for the most part and it was certainly fun. The hubs and I really enjoyed it and it’s a great way to spend time together and catch up as well. Follow me on Snapchat @lolanicolemua for more fun diy sneak peeks and tag me on Twitter or Instagram @lolanicoleblogs if you try this DIY. I’d love to see how you made this your own if you decide to try it. I Hope you loves have an amazing day!
Always Remember You’re Beautiful!
-Lola
![Mini vacay haul from @temu there’s a bunch I’ve got my eye on and they have✨Free Shipping and Returns!✨
^
Click the link in my bio or 🔎 [Code: dkd4696] when you download the Temu app and claim $100 coupon bundle!
^
^
#temu #shoptemu #temufinds #temubaes #temulookbook #styletips #temuhaul #temustyle #lolanicoleblogs #vloggerlifestyle #thatgirl #thatgirlaesthetic #pinterestphoto #pinterestfashion #liveinspired #temupartner #temuaffiliateprogram](https://lolanicole.com/wp-content/plugins/instagram-feed/img/placeholder.png)


